
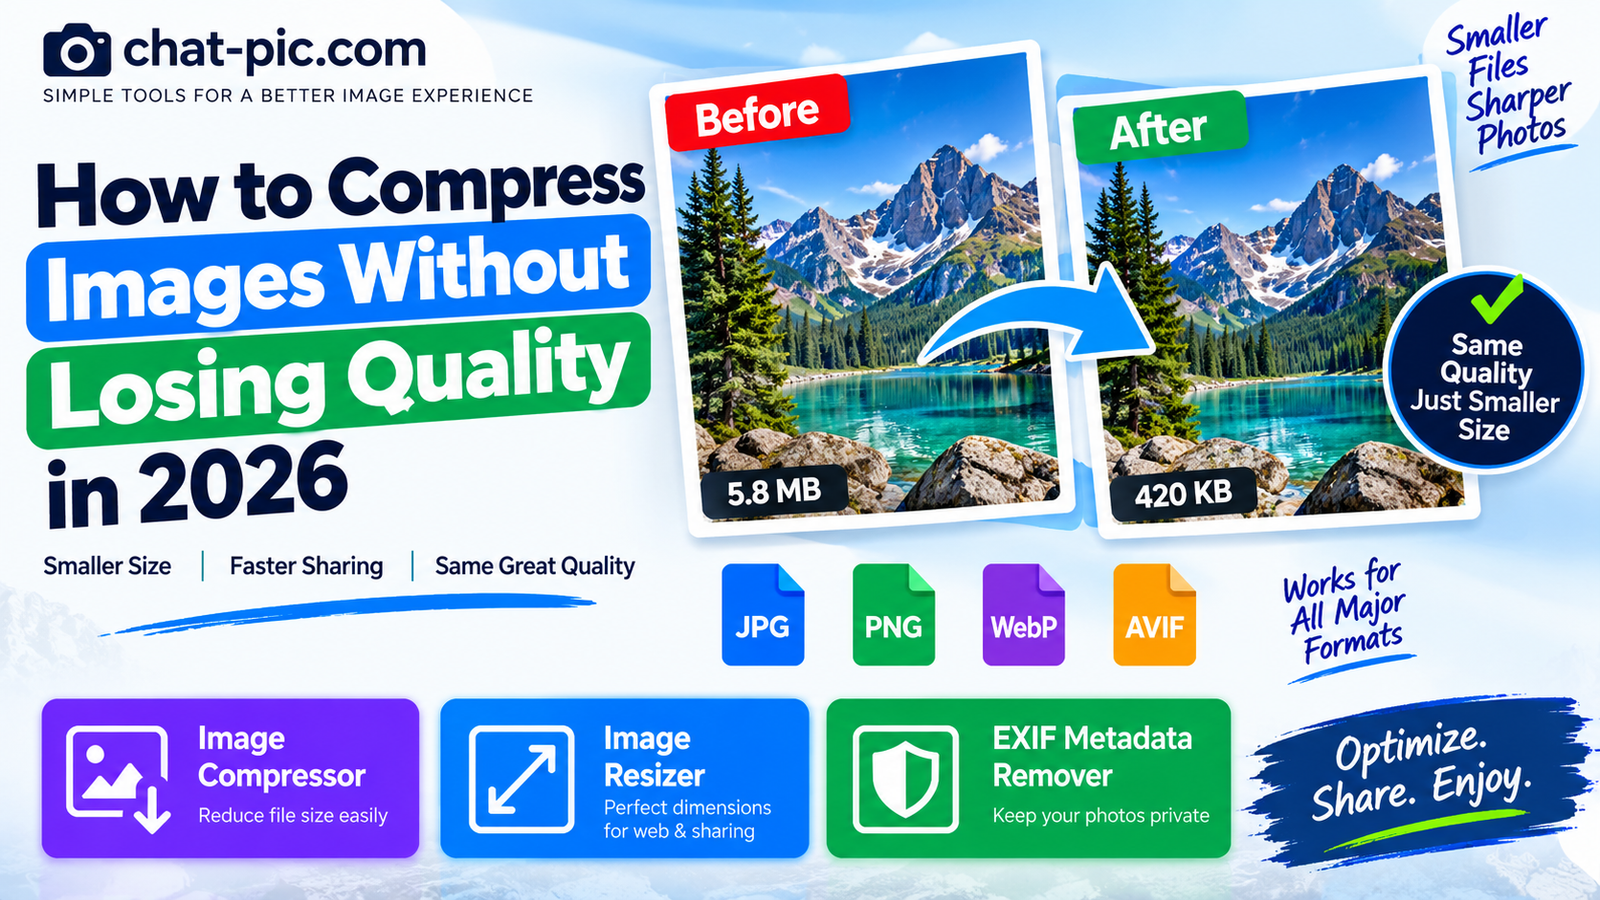
Large image files can slow down websites, take longer to upload, consume more storage, and make sharing photos unnecessarily difficult.
But compression creates an obvious concern:
Will making an image smaller also make it look worse?
The answer depends on the image format, compression method, dimensions, and quality setting you choose.
If you want to compress images without losing quality, the goal is usually not simply to make the file as small as possible. The better goal is to remove unnecessary file size while keeping the image visually sharp enough for its intended use.
In this guide, you will learn how image compression works, when to use JPG, PNG, WebP or AVIF, how resizing can dramatically reduce file size, and how to avoid the most common image-quality mistakes in 2026.
What Does “Compress Without Losing Quality” Actually Mean?
There are two main types of image compression:
Lossless compression reduces file size while preserving the original pixel information.
Lossy compression removes some image information to create a smaller file.
This distinction matters because technically, a lossy JPG or WebP image does lose some information even when you cannot see the difference with your eyes.
So when people say they want to compress an image “without losing quality,” they often mean:
Reduce the file size without creating visible quality loss.
For website photographs, social images and everyday photo sharing, this is often possible.
For medical images, professional archives, source graphics or files that must remain mathematically identical, true lossless compression may be more appropriate.
Why Image Files Become So Large
Modern phones and cameras can capture very high-resolution photographs.
A phone may create an image several thousand pixels wide even though the image will eventually appear inside a much smaller website container.
A large image can contain:
- More pixels than the display actually needs
- High JPEG quality settings
- Metadata
- Large transparent areas
- Inefficient image formats
- Color information unnecessary for normal web display
This means reducing file size does not always require making the picture look worse.
Sometimes the image simply contains more data than the final use requires.
The Fastest Way to Compress an Image
For a quick browser-based solution, use the Chat Pic Image Compressor:
The tool lets you:
Upload an image, adjust compression quality, choose an output format, compare original and compressed file sizes, preview the result and download the compressed copy.
Your original image should always be kept separately.
For ordinary photographs, start with a moderate quality setting rather than immediately using the maximum quality. These settings can help you compress images without losing quality while keeping file sizes practical for websites.
If the output file becomes larger instead of smaller, reduce the quality slightly or try WebP.
JPEG vs PNG vs WebP vs AVIF
Choosing the right format can make as much difference as the compression setting itself.
Modern browsers support several image formats, and each has different strengths.
MDN currently describes JPEG as a good choice for lossy still-image compression, PNG as useful when lossless reproduction or transparency is needed, and WebP as a strong format for both photographs and graphics. AVIF can achieve even higher compression efficiency in many situations and is supported by current major browsers, although fallback formats can still be useful for compatibility.
| Format | Best For | Compression | Transparency |
|---|---|---|---|
| JPG/JPEG | Photographs | Lossy | No |
| PNG | Logos, screenshots, graphics | Lossless | Yes |
| WebP | Photos and web graphics | Lossy or lossless | Yes |
| AVIF | Highly optimized web images | Lossy or lossless | Yes |
When Should You Use JPG?
JPEG remains one of the most common formats for photographs.
It works particularly well for:
Photography, travel images, food photos, product pictures and other images containing many colors and smooth gradients.
JPEG uses lossy compression.
A quality setting that is slightly lower than the maximum can often reduce file size significantly without producing an obvious visual difference.
Using 100% quality is rarely necessary for a normal website image.
MDN’s performance guidance notes that a quality level around 75% can produce reasonable results in many situations, although the ideal value depends on the individual image.
That does not mean 75% is always perfect.
You should preview the result and adjust based on the actual photograph.
When Should You Use PNG?
PNG uses lossless compression.
It is useful for images where precise reproduction matters, particularly graphics with text, screenshots, diagrams and transparent backgrounds.
However, PNG photographs can become extremely large.
If you have a normal camera photograph saved as PNG, converting it to JPG or WebP can often reduce the file size dramatically.
Do not automatically convert every PNG, though.
If the image contains transparency, crisp interface elements or small text, PNG may still be appropriate.
Why WebP Is Useful in 2026
WebP can use both lossy and lossless compression.
Google’s WebP documentation describes its lossless mode as preserving the original pixel values while using techniques such as transforms and entropy coding to reduce file size.
For ordinary web use, WebP is particularly attractive because it can provide smaller files than older formats while still producing strong image quality.
MDN describes WebP as an excellent choice for both still and animated images and notes that it offers better compression than traditional PNG or JPEG in many cases.
For users of the Chat Pic compressor, WebP is a good option to test when a JPG remains larger than expected.
What About AVIF?
AVIF has become increasingly important for modern web performance.
It supports both lossy and lossless compression, transparency, higher color depths and other modern image capabilities.
MDN currently lists AVIF support across Chrome, Edge, Firefox, Opera and Safari, while still recommending fallbacks when broad compatibility is important.
AVIF can be extremely efficient, but compression and decoding characteristics differ from WebP and JPEG.
For a simple everyday sharing tool, JPG and WebP remain easier choices.
For a performance-focused website where image delivery is carefully managed, AVIF is worth considering.
Compressing vs Resizing: They Are Not the Same
This is one of the most important concepts in image optimization.
Compression reduces the amount of data used to represent the image.
Resizing changes the image dimensions.
Suppose your phone creates a photograph measuring 5000 × 3500 pixels.
Your website may only display that image at 1200 pixels wide.
Even excellent compression still leaves the browser downloading pixels that will never be displayed at their original size.
In that situation, resizing first may create a much bigger file-size reduction than compression alone.
You can use the Chat Pic Image Resizer:
Keep the aspect ratio enabled so the image does not become stretched or distorted.
Best Workflow for Smaller Images
For most web and sharing situations, the best process is:
- Keep your original image safely stored.
- Decide the largest dimensions you actually need.
- Resize the image if it is much larger than necessary.
- Remove unnecessary metadata if privacy matters.
- Choose JPG, WebP or another appropriate output format.
- Start with a moderate compression quality.
- Compare the original and compressed preview.
- Lower the quality gradually only if the file is still too large.
- Avoid repeatedly recompressing the same already-compressed copy.
- Save the optimized copy under a different filename.
This approach gives you more control than simply dragging a quality slider to the lowest possible setting.
What Quality Setting Should You Use?
There is no universal number that works for every photograph.
An image with a smooth blue sky may show compression artifacts differently from a detailed photograph of trees, hair or fabric.
For a normal JPG or WebP photo, you can start around 75–85% and inspect the result.
If you cannot see a meaningful difference, the compression level may be suitable.
If you see:
Blockiness, blurred fine detail, color banding, strange edges or text becoming fuzzy, increase the quality.
For thumbnails and small social images, you may be able to use stronger compression.
For professional photography, you may prefer higher quality.
The important rule is:
Choose quality based on the final use, not simply the smallest possible file.
Why 100% Quality Is Usually Not Necessary
A common mistake is assuming that 100% quality means “normal” and anything below it means damaged.
That is not how practical image encoding works.
A JPEG at maximum quality can become much larger while producing only a tiny visual improvement compared with a slightly lower setting.
The difference may be invisible at normal viewing size.
That makes maximum quality inefficient for many websites and everyday sharing situations.
You should always compare the actual image rather than relying only on the percentage number.
Can Compression Make a File Larger?
Yes.
This can happen, and you already saw this behavior while testing the Chat Pic compressor.
Suppose the original JPG was already heavily optimized.
If you re-encode it at a very high quality such as 93%, the newly created file can actually become larger than the original.
This does not mean the compressor is broken.
It means the original encoding was already efficient compared with the new settings.
If this happens:
Reduce the quality to around 70–80%, try WebP, resize unnecessarily large dimensions, or simply keep the original if it is already optimized.
Compression should solve a practical problem.
There is no benefit in replacing a 70 KB original with a 98 KB “compressed” copy.
How Much Should a Website Image Weigh?
There is no universal file-size limit because image dimensions and visual complexity vary.
A tiny icon and a full-width hero photograph cannot reasonably have the same target.
Instead of obsessing over one number, focus on:
Correct dimensions, appropriate format, acceptable visual quality and the smallest practical file size.
If two versions look identical at normal viewing size and one is substantially smaller, the smaller version is usually the better web choice.
Compress Images for WordPress
WordPress websites often accumulate oversized images because users upload photographs directly from a phone or camera.
A 5000-pixel-wide photograph might appear on a page at only 1000–1200 pixels.
Before uploading large feature images:
Resize them to an appropriate width, compress them, use a suitable format, and keep the original separately.
This reduces unnecessary data transfer and makes media management easier.
It also helps avoid filling your hosting storage with oversized originals when the full resolution is unnecessary.
Image Compression and Website Speed
Images are frequently among the largest resources on a webpage.
Smaller image files can reduce the amount of data visitors must download.
This is especially important for users on mobile networks or slower connections.
Modern image formats can help. MDN’s current guidance describes WebP and AVIF as more efficient alternatives to traditional formats in many web scenarios.
However, format conversion alone does not solve every problem.
An enormous 6000-pixel image can still be inefficient even when saved as WebP.
Good optimization combines dimensions + format + compression.
Compressing Images for Email
Email providers often impose attachment-size limits.
Instead of sending a huge camera original, create a sharing copy.
If the recipient only needs to view the photograph on a screen, resize the image first and then apply moderate compression.
If they need the original for printing or professional editing, do not compress it unnecessarily.
Use a file-transfer service instead.
The correct solution depends on what the recipient actually needs.
Compressing Images for Social Media
Most social platforms resize or re-encode uploaded images.
Uploading an enormous original does not always result in better final quality.
Instead, prepare a clean copy at sensible dimensions.
This also prevents you from distributing the original high-resolution file unnecessarily.
If privacy matters, remove metadata before uploading.
You can use the Chat Pic EXIF Metadata Remover:
Then compress or resize the cleaned copy.
Does Compression Remove EXIF Metadata?
Not necessarily.
Compression and metadata removal are different operations.
An image can be recompressed while still retaining certain metadata, depending on the software or service.
If your goal includes privacy, do not assume a smaller file automatically means the location or camera metadata has disappeared.
Use a dedicated metadata-cleaning step.
Lossless Compression vs Visually Lossless Compression
These terms are easy to confuse.
Lossless compression means the pixel information can be reconstructed exactly.
Visually lossless usually means the compressed image technically differs from the original, but the difference is difficult or impossible for a normal viewer to notice under ordinary conditions.
For most website photography, visually lossless results are often enough.
For archival and scientific work, exact lossless reproduction may matter much more.
Choose the method based on what you are protecting.
Why You Should Avoid Repeated JPEG Compression
Every time a lossy image is decoded and re-encoded, more information can be discarded.
Imagine this workflow:
Original JPG → compressed JPG → edited JPG → compressed JPG again → another export.
Quality can gradually deteriorate.
A better workflow is to keep a high-quality original and create new output copies directly from that original whenever possible.
This prevents unnecessary generational loss.
How to Check Image Quality After Compression
Do not judge quality only from a tiny thumbnail.
Open both images at the size users are likely to see.
Pay attention to difficult areas such as:
Faces, hair, text, fine lines, skies, shadows, leaves, textured clothing and high-contrast edges.
If the compressed version still looks clean at realistic viewing size, you may not need a larger file.
Pixel-peeping at extreme zoom can reveal differences that normal users would never notice.
Optimize for the real viewing experience.
Should You Convert Every JPG to WebP?
No.
WebP can often reduce file size, but conversion should still have a purpose.
If your JPG is already extremely small, converting it may provide little practical benefit.
You should compare:
Original file size, converted file size, visible quality and your compatibility requirements.
Use the format that provides the best balance rather than converting files automatically just because a format is newer.
Should You Convert PNG to JPG?
Only when the image is appropriate for JPG.
A large PNG photograph may become dramatically smaller as JPG.
But converting a transparent logo to JPG removes transparency.
Screenshots containing text or interface elements can also look worse under aggressive JPEG compression.
Use format selection based on image content.
Image Compression for SEO
There is no magic SEO score simply because an image is 50 KB instead of 100 KB.
Image optimization matters because it contributes to a faster, more usable webpage.
For SEO, you should also pay attention to:
Descriptive filenames, useful alternative text, correct dimensions, relevant images, responsive delivery and overall page performance.
Do not destroy image quality simply to chase the smallest possible file.
Visitors still need to see a clear, useful image.
Frequently Asked Questions
How do I compress images without losing quality?
Start by resizing unnecessarily large dimensions, then use a suitable format such as JPG or WebP with a moderate quality setting. Preview the image before downloading it and avoid excessive compression.
Is WebP better than JPG?
WebP supports both lossy and lossless compression and can often create smaller files than JPEG while maintaining strong visual quality. JPEG remains widely compatible and is still effective for normal photographs.
What JPEG quality is best for websites?
There is no universal setting. A range around 75–85% can be a useful starting point for many photographs, but the correct value depends on the image. MDN’s performance guidance notes that around 75% can provide decent results in common situations.
Does reducing image dimensions improve file size?
Yes. Reducing unnecessary width and height can dramatically lower file size because the image contains fewer pixels.
Is PNG lossless?
Yes. PNG is generally used as a lossless raster format and is particularly useful for transparency, screenshots and graphics requiring precise reproduction.
Does image compression reduce resolution?
Compression and resolution are separate. Compression changes how image information is encoded, while resizing changes pixel dimensions. Some tools perform both, so check the settings before processing an important photograph.
Why did my compressed image become larger?
The original may already have been efficiently compressed, or your output quality may be too high. Try a lower quality level, WebP, or smaller dimensions.
Final Thoughts
Learning how to compress images without losing quality is mainly about finding the right balance.
Do not simply aim for the smallest file.
Start with appropriate dimensions, choose a format suited to the image, and then use moderate compression while visually checking the result.
For photographs, JPG and WebP are practical choices. PNG remains useful when lossless reproduction or transparency matters, while AVIF is increasingly relevant for highly optimized modern websites.
Most importantly, keep your original image.
Create optimized copies for websites, email and sharing instead of repeatedly editing the only version you have. The best way to compress images without losing quality is to combine sensible dimensions, the right format, and moderate compression.
With that workflow, you can reduce image file sizes substantially while keeping your photos looking sharp.