
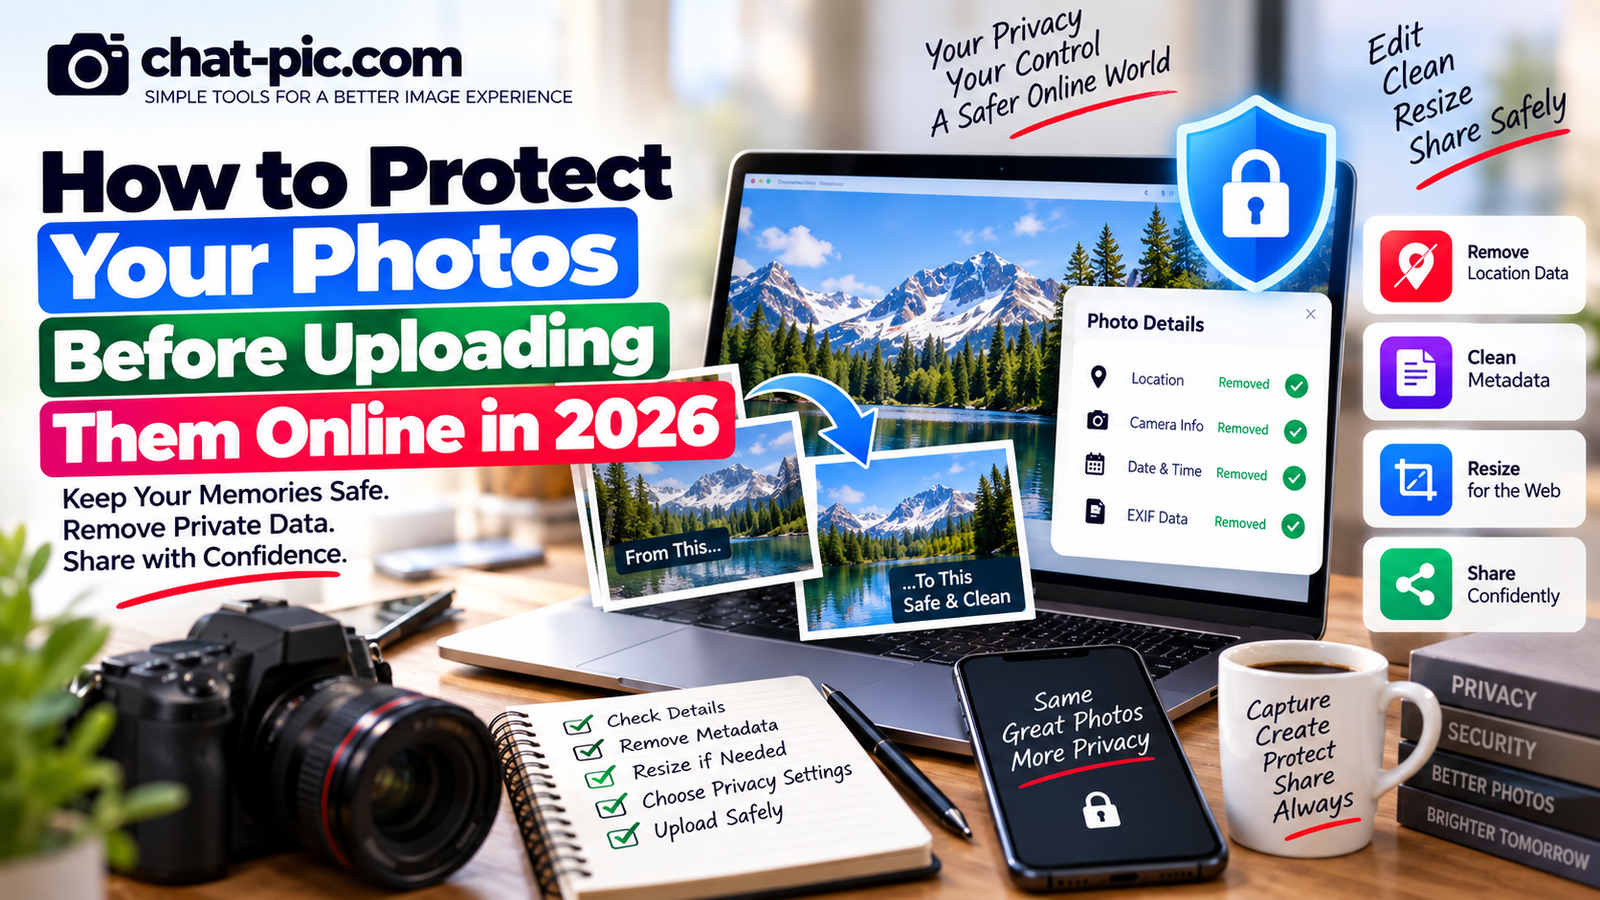
Uploading a photo takes only a few seconds.
Protecting what that photo reveals takes a little more thought.
A photograph can contain information that is easy to miss when you first look at it. The visible image may show an address, work badge, school name or computer screen. The original file can also contain metadata such as the date, camera information and sometimes GPS location.
If you want to protect photos before uploading online, the safest approach is to prepare a separate sharing copy instead of automatically uploading the original file from your phone or camera.
This guide explains a practical privacy workflow for 2026: inspect the image, remove unnecessary location information, resize or compress it when appropriate, choose the right sharing method and control who can access the final upload. These simple steps can help you protect photos before uploading online without making the sharing process complicated.
Why Photo Privacy Matters Before Uploading
Most people think about privacy after a photo has already been shared.
That is often too late.
Once another person can access an image, they may be able to:
- Download it
- Screenshot it
- Forward the link
- Re-upload it
- Save it permanently
- Zoom into small details
- Inspect metadata if the file retains it
Removing an upload later can stop future access to your hosted copy, but it normally cannot erase copies that other people already saved.
That is why the best privacy decision happens before the upload.
Step 1: Look Closely at What Is Visible in the Photo
Start with the simplest privacy check.
Open the photograph full-screen and look at the entire frame, not just the main subject.
Check for information such as:
- House numbers
- Street signs
- License plates
- School logos
- Employee badges
- Mail or packages
- Computer screens
- Documents
- ID cards
- Phone numbers
- Email addresses
- QR codes
- Hotel information
- Family names
- Children’s identifying details
High-resolution images make this especially important.
Something that looks unreadable in a small preview may become clear when another person zooms into the original photograph.
Check Reflections Too
Mirrors, windows, glasses and shiny objects can reveal things you did not intend to photograph.
A reflection can show:
- Your face
- Another person
- A computer screen
- A room layout
- A document
- The location behind the camera
Before publishing an important or sensitive image, zoom into reflective areas.
Metadata cleaning cannot remove visible information.
You may need to crop, blur or choose another photo.
Step 2: Check Photo Location Data
Modern smartphones can save location information when they capture a photograph.
Google Photos explains that a location can come directly from the camera, be manually added, or be estimated by Photos. Google also notes that camera-added location cannot be edited or removed using the normal Google Photos location controls.
This means a photo file may reveal where it was taken even when there is no visible address in the image.
For photos taken at your home, workplace, school, private event or another sensitive place, location metadata deserves extra attention.
How to Check Location on iPhone
Apple’s Photos app can show information including the place where a photo was captured.
Apple also allows users to adjust the location information associated with a photograph.
If location is unnecessary for the copy you want to share, remove it first.
Apple’s current Personal Safety guidance says you can open a photo, choose Adjust Location, and select No Location.
Share an iPhone Photo Without Location
You do not always need to permanently change the photo in your library.
Apple lets users suppress location information for a specific share.
When sharing from Photos:
Share → Options → turn Location off → Done
This allows you to keep useful location information in your private library while excluding it from that sharing action.
That is a very useful privacy habit.
Stop iPhone Camera Location Collection
If you do not want future Camera photos to include location information at all, Apple allows you to disable the Camera app’s Location Services access:
Settings → Privacy & Security → Location Services → Camera → Never.
This is optional.
Location data can be useful for organizing travel photos, so some people prefer to keep it enabled privately and remove it only from sharing copies.
Step 3: Understand Google Photos Location Privacy
Google Photos currently says photo locations are private by default for most normal sharing workflows, unless you choose to include location information or use certain features such as Partner Sharing.
However, there is an important distinction between:
how Google Photos displays/shares location information
and
what may be stored inside the original file.
Google notes that when a photo is shared outside Google Photos, such as by downloading and emailing the original, location saved by the device may still be present in that file.
For a sensitive image, preparing a clean file before uploading gives you more control.
Step 4: Remove EXIF Metadata When Privacy Matters
EXIF metadata can contain technical information associated with a photograph.
Depending on the camera and file, this may include:
- Camera model
- Capture time
- Exposure settings
- Dimensions
- Editing software
- GPS coordinates
Not all metadata is dangerous.
Photographers often rely on it.
But a stranger viewing a casual public photo usually does not need access to unnecessary camera or location information.
For a privacy-clean sharing copy, use the Chat Pic EXIF Metadata Remover.
Link that text to:
/exif-metadata-remover/
Keep your original photograph separately.
That way you preserve the original information for yourself while sharing a cleaned version.
Step 5: Decide Whether Full Resolution Is Necessary
Your phone may create a photo thousands of pixels wide.
Ask whether the destination actually needs that resolution.
For example:
A professional editor may need the original.
A person printing a large photo may need a high-resolution export.
But a normal website visitor, forum user or social follower may not need a 20-megapixel original.
A smaller copy can reduce:
- File size
- Upload time
- Storage use
- Unnecessary visual detail
- Bandwidth consumption
It also means you are not distributing the highest-resolution source file without a reason.
Resize a Sharing Copy
Use the Chat Pic Image Resizer.
Link that text to:
/image-resizer/
Keep original aspect ratio enabled to avoid stretching the photo.
The correct dimensions depend on where the image will appear.
For a website article, a reasonably sized landscape image is often more useful than the untouched camera original.
Step 6: Compress Large Images Carefully
Resizing and compression solve different problems.
Resizing changes width and height.
Compression reduces how much data is needed to store the image.
If your dimensions are already appropriate but the file is still unnecessarily large, use the Chat Pic Image Compressor.
Link that text to:
/image-compressor/
Use moderate compression.
Do not chase the smallest possible file if the image starts to look blurry or blocky.
And if someone needs the exact original photograph, send the original through a proper file-transfer service rather than compressing it.
Step 7: Keep the Original File
One of the best habits is simple:
Never make your public sharing copy your only copy.
Keep the original safely stored.
Then create separate versions for:
- Website use
- Social media
- Private sharing
- Printing
- Client delivery
This prevents repeated editing and recompression of the same image.
It also lets you remove metadata or resize the sharing version without destroying useful information in your personal archive.
Step 8: Choose the Right Sharing Method
Not every photo should be uploaded in the same way.
A public graphic and a private family photograph have different security needs.
Public or non-sensitive image
A normal image host, social platform or website upload may be fine.
Private image
Use access-controlled cloud storage or encrypted sharing.
Temporary delivery
Use a transfer method where the link can expire.
Professional original
Send the actual file through a cloud drive or professional transfer method rather than a social-media preview.
The sensitivity of the photograph should determine the platform.
Step 9: Be Careful With “Anyone With the Link”
Link sharing is convenient.
It is not the same as restricting access to one specific person.
Anyone who obtains an active public-style link may potentially use it.
Proton Drive explicitly warns that anyone with a public link can access the shared item. It therefore allows the owner to add passwords, expiration dates and revoke sharing.
For sensitive photos, prefer direct recipient access when possible.
If you use a public link, treat the URL itself as private information.
Step 10: Use Password-Protected Links for Sensitive Files
A password adds another layer of protection.
If somebody accidentally receives the URL but does not know the password, they cannot simply open the content.
Proton Drive currently supports password protection and expiration dates for shared links.
For important content, send:
the link through one trusted channel
and
the password through another trusted channel
when practical.
This reduces the risk from a single accidentally forwarded message.
Step 11: Use Expiration Dates
A link does not always need to remain active forever.
If someone only needs a photo for a short time, use expiration where supported.
Proton Drive allows public sharing links to expire automatically on a selected date.
This is useful for:
- Client deliveries
- Temporary personal shares
- Short-term projects
- Sensitive files
- Event photographs
Expiration reduces long-term exposure.
It cannot remove copies already downloaded, but it can stop the old link from continuing to work.
Step 12: Use Viewer Permissions Unless Editing Is Needed
Do not give people more access than necessary.
If someone only needs to see or download an image, Viewer access is usually enough.
Some cloud platforms allow Editors to modify content or manage access.
Proton Drive, for example, supports Viewer and Editor roles, and Editor permissions can include broader abilities depending on the shared content and settings.
The safest rule is:
Use the minimum permission required.
Step 13: Remove Sharing When It Is No Longer Needed
If the platform supports revocation, turn off access once the sharing purpose is complete.
Proton Drive lets an owner stop sharing, which disables the public link and removes access through that sharing method.
Again, this does not delete downloaded copies.
But it prevents the old URL from remaining active indefinitely.
Step 14: Do Not Assume Social Media Keeps Originals Private
Social networks are designed around publishing and engagement.
They are not always the best place to deliver important original photographs.
If somebody needs an original image for:
- Professional editing
- Printing
- Archiving
- Design work
- Publication
send the file directly through a cloud or transfer system.
Use social media for viewing and discovery.
Use file sharing for original delivery.
Step 15: Be Careful With Photos of Children
Photos involving children deserve additional care.
Before uploading, check for:
- School uniforms
- School signs
- House numbers
- Sports-team information
- Regular locations
- Name tags
- Documents
- Visible schedules
Avoid sharing unnecessary location information.
Also think about who can access the final image, not just whether the account itself is private.
A private account can still have many followers or recipients.
Step 16: Protect Travel Photos in Real Time
Travel photos can reveal where you currently are.
Posting a photo immediately can sometimes reveal:
- Current city
- Hotel
- Restaurant
- Event
- Travel route
- Vehicle
- Empty home status
For privacy-sensitive travel, consider waiting until you leave the location before posting.
Remove location metadata if unnecessary.
Also inspect boarding passes, hotel documents, car plates and tickets visible in the image.
Step 17: Watch Out for Screenshots
Screenshots often contain information people overlook.
Before uploading a screenshot, check:
- Browser tabs
- Email addresses
- Account names
- Notifications
- Phone numbers
- Private messages
- File names
- URLs
- Profile pictures
- Payment details
Cropping the screenshot can sometimes be more important than metadata removal.
Step 18: Do Not Rely Only on Metadata Removal
Removing EXIF data is useful.
It does not make a photo anonymous.
A recognizable landmark can still reveal location.
Google Photos explicitly warns that even when location information is hidden, viewers may be able to infer where an image was taken from visible landmarks.
Similarly, someone’s face, car, house or workplace may reveal identity.
Photo privacy requires checking both:
hidden data and visible content.
Step 19: Use a Separate Public Copy
For photos you plan to publish publicly, a good system is:
Original → privacy copy → resize → compress → upload
This gives you several benefits.
Your private original remains untouched.
The public version contains only the resolution and metadata you intentionally choose to share.
If you later need the full original for printing or editing, you still have it.
Step 20: Protect Photos Before Uploading Online With a Simple Checklist
Before every sensitive upload, ask:
- Does the photo contain visible private information?
- Does it contain location metadata?
- Does the recipient need the original resolution?
- Should I remove EXIF information?
- Should I resize the image?
- Should I compress it?
- Is the destination public or private?
- Who can access the final upload?
- Can the link be forwarded?
- Can I use a password?
- Can the link expire?
- Can I revoke access later?
- Do I still have the original backed up?
If you answer these before uploading, you are much less likely to accidentally share something you did not intend.
A Practical Workflow for Public Photos
For a normal website or social-media image:
- Keep the original.
- Inspect visible information.
- Remove unnecessary metadata.
- Resize to suitable dimensions.
- Compress moderately.
- Upload the prepared copy.
This gives you a lightweight public image while preserving your private original.
A Practical Workflow for Private Photos
For a sensitive photograph:
- Keep the original offline or in trusted storage.
- Inspect visible private details.
- Remove location and unnecessary metadata.
- Keep full resolution only if the recipient truly needs it.
- Use secure cloud or encrypted sharing.
- Restrict access to intended recipients.
- Add a password if available.
- Set an expiration date where useful.
- Send the link privately.
- Revoke access after the recipient is finished.
This provides much more control than placing the original file on a public image host.
Should You Turn Off Camera Location Completely?
Not necessarily.
Location metadata can be useful for organizing personal photographs.
Google Photos, for example, uses photo locations for maps, searches and organization. Google also lets users turn camera location collection on or off through their device’s camera settings.
A balanced approach is:
Keep location information in your private originals if it is useful, but remove or suppress it when sharing sensitive photos.
Does Google Photos Remove Camera Location?
Google Photos allows estimated or manually added locations to be changed or removed.
However, its official documentation says camera-added location cannot be removed using Google Photos’ normal location editing feature.
If your goal is to create a clean file for uploading elsewhere, process the actual file itself rather than assuming an album setting changes the original metadata.
Does iPhone Let You Remove Photo Location?
Yes.
Apple currently provides controls to:
- Remove a photo’s location
- Stop Camera from collecting location metadata
- Turn off location information when sharing a photo
This makes iPhone photo privacy easier to manage without deleting useful location information from every photo in your library.
Should You Upload Original Photos to WordPress?
Usually not when the camera original is much larger than the webpage needs.
A WordPress article rarely needs a 6000-pixel camera photograph.
Prepare a web copy.
Resize it appropriately and compress it before uploading.
This reduces page size and protects your full-resolution original.
Keep the master file separately.
Does Compression Protect Privacy?
Not automatically.
Compression reduces file size.
It does not guarantee metadata removal.
A compressed image can still contain information depending on how the software handles the file.
If privacy matters, use a deliberate metadata-removal step rather than assuming compression cleaned everything.
Is a Private Account Enough?
A private social account provides more control than a fully public account.
But it does not mean the image can never escape.
Approved followers can potentially:
- Screenshot the image
- Save it
- Forward it
- Show it to someone else
Privacy settings reduce exposure.
They do not create total control after another person can see the image.
Frequently Asked Questions
How can I protect photos before uploading online?
Inspect the visible image, remove unnecessary location and EXIF metadata, resize or compress a sharing copy when appropriate, and use access controls suited to the sensitivity of the photo.
Can photos contain my location?
Yes. A phone or camera can save location data with a photograph when location collection is enabled. Google Photos and Apple both provide controls for managing photo location information.
Can I remove location from an iPhone photo?
Yes. Apple lets users choose Adjust Location → No Location, and also allows Location to be turned off from the sharing Options screen.
Does Google Photos let me remove camera GPS data?
Google says camera-added locations cannot be changed or removed through its normal Google Photos location-editing controls. Estimated or manually added locations can be handled differently.
Should I remove EXIF data from every photo?
No. EXIF data can be useful for photography and personal organization. For public or privacy-sensitive sharing, creating a metadata-cleaned copy is often a better approach than changing your only original.
Are password-protected photo links safer?
They add another layer of access control. Proton Drive currently supports passwords and expiration dates for shareable links.
Can I revoke a photo link later?
Some services allow it. Proton Drive, for example, allows users to stop sharing or revoke access.
Can I delete a photo from someone’s phone after they download it?
Normally no. Revoking your hosted link does not remove a copy that another person already downloaded.
Final Thoughts
Learning how to protect photos before uploading online is mostly about developing a simple habit:
Do not upload the original automatically.
Look at the photo carefully.
Check the metadata.
Decide whether full resolution is really necessary.
Create a separate sharing copy.
Remove unnecessary location information.
Resize and compress when appropriate.
And for private photographs, use access controls such as named recipients, passwords, expiration dates and link revocation. The best way to protect photos before uploading online is to prepare a separate sharing copy and control who can access it.
No single privacy feature can protect every photograph after it leaves your device.
But preparing the image before uploading gives you far more control over what information you share and who can access it.